Setting Up a Raspberry Pi Web Server
May 3, 2016
I've been using a Raspberry Pi as a low-cost/low-power server for the past couple years. This post is my short collection of notes related to setting up a Pi as a web server with the classic "LAMP" stack (Linux, Apache, MySQL, PHP.)
Software
Raspbian https://www.raspberrypi.org/downloads/raspbian/
Win32DiskImager https://sourceforge.net/projects/win32diskimager/
TeraTerm https://ttssh2.osdn.jp/index.html.en
Swish-SFTP http://www.swish-sftp.org/
Prepare an SD Card
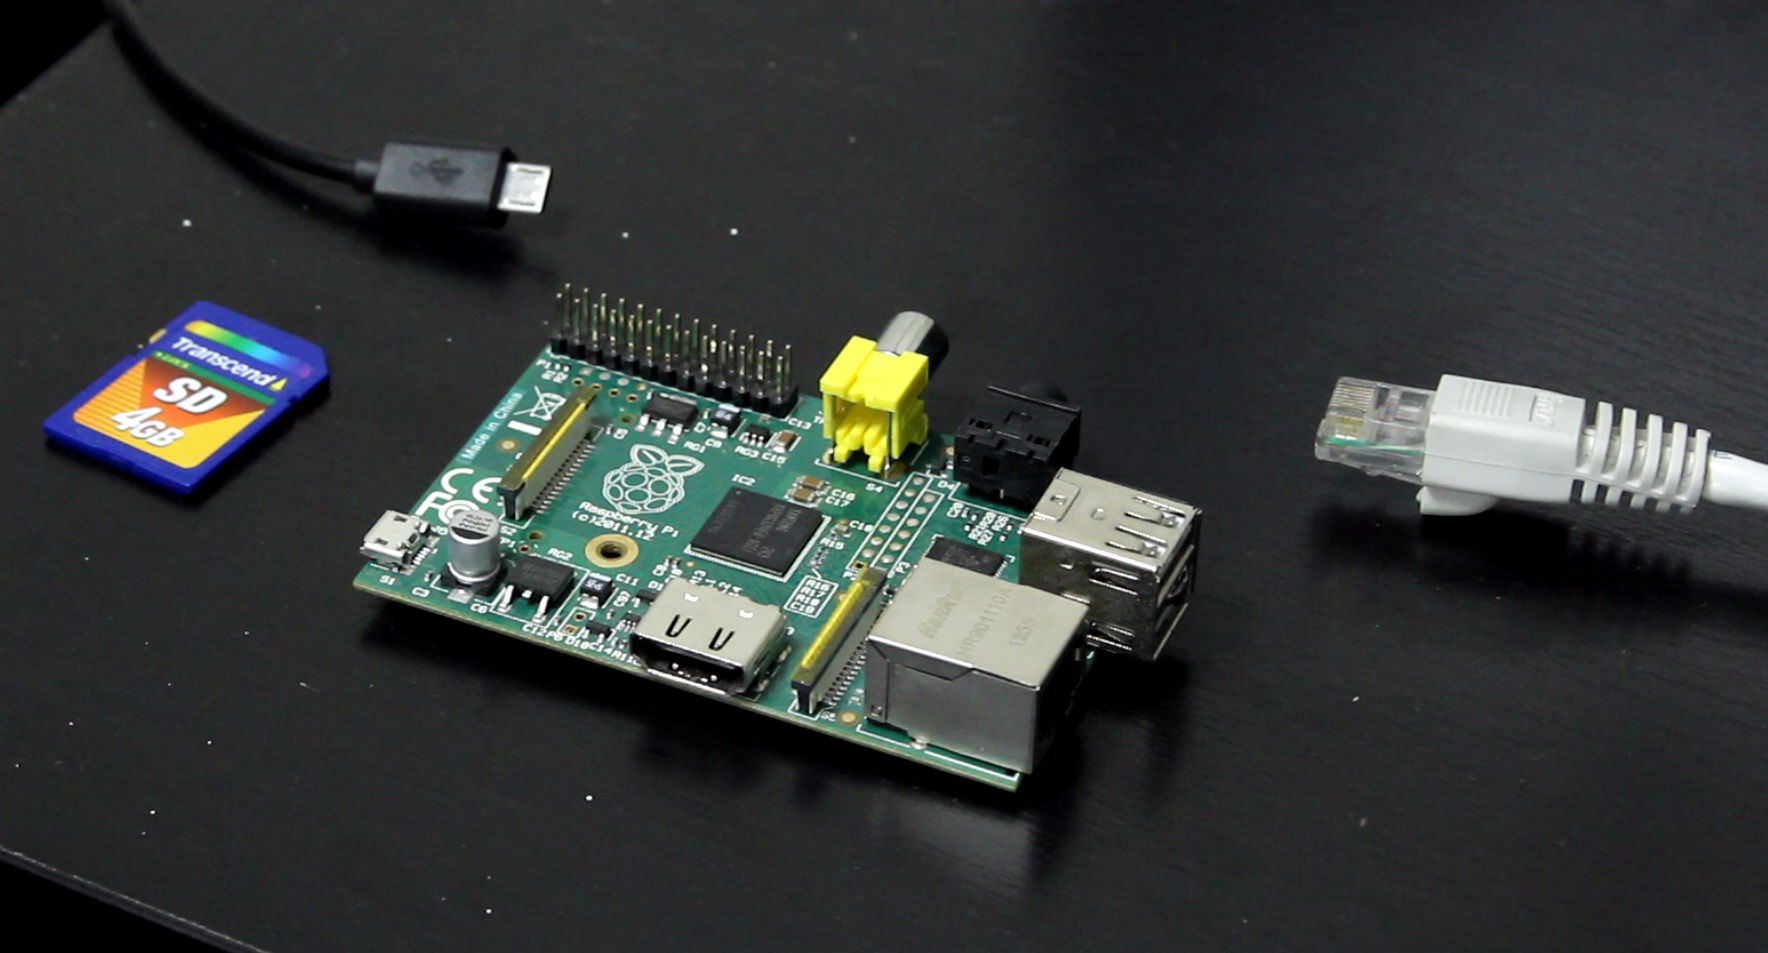
Unzip the Raspbian archive and use Win32DiskImager to write the .img to an SD card. To run Win32DiskImager, you might to Right Click -> Run as Administrator. When the write completes, place the SD card in the Pi and plug in ethernet and micro USB cables. There is no need for a keyboard, mouse or monitor.
Connect to the Pi via SSH
Use your router to figure out the Pi's IP address and optionally setup the router to assign the Pi a static IP address. Run TeraTerm and start a SSH connection to that IP address. The default username is "pi" and the default password is "raspberry".
Optionally change the hostname by replacing all instances of "raspberrypi" with a new hostname:
sudo nano /etc/hostname
sudo nano /etc/hosts
Optionally change the username by replacing all instances of "pi" with a new username:
sudo -s
nano /etc/passwd (change the username AND home dir)
nano /etc/shadow
nano /etc/group
nano /etc/gshadow
nano /etc/sudoers
mv /home/pi /home/newusername
passwd newusername
shutdown -r now
Reopen TeraTerm and login with the new username and password.
Configure Raspbian and Install Software Updates
Run raspi-config to setup the OS:
sudo raspi-config
    Expand the filesystem
    Set boot options to "B1 Console"
    Optionally set internationalization options to "en_US" and set the timezone
    Finish and let it reboot
Install software updates:
sudo apt-get update
sudo apt-get upgrade
Install and Configure Apache, MySQL and PHP
Install the web server software:
sudo apt-get install apache2 php5 mysql-server mysql-client
sudo chown -R yourusername /var/www
sudo chgrp -R yourusername /var/www
ln -s /var/www/html ~/html
At this point it's all up and running. Going to the Pi's IP address in a web browser should reveal the default Apache page. That page is stored in /var/www/html/index.html, and also accessable through the link you made as ~/html/index.html. Assuming you want the web server to be public, you probably want to setup port forwarding on your router (TCP port 80) and use a domain name and dynamic DNS service so people can type in a .com instead of an IP that might change over time.
I use Google Domains. It's around $12/year for a .com and they include dynamic DNS service at no extra cost. Here's how to setup the dynamic DNS service they offer:
Login to https://domains.google.com/
In the rows of domain names, click on the DNS icon for the domain you want to setup
In the Synthetic Records section, select Dynamic DNS
For the subdomain, use "@" (without the quotes) for no subdomain (like when someones goes to yourdomain.com instead of www.yourdomain.com)
Then make another record for the "www" (without quotes) subdomain
Click on the > icon next to each record, then click View Credentials
You can use software like ddclient to notify Google when your IP changes, or you can keep things simple and just visit a specially-crafted URL periodically to keep Google up-to-date. I wrote a simple script to visit that URL and record it's response to a text file. Be sure to make the script executable:
nano ~/dns_update_script.sh
    wget https://username:password@domains.google.com/nic/update?hostname=yourdomain.com -qO dns_update_results.txt
    wget https://username:password@domains.google.com/nic/update?hostname=www.yourdomain.com -qO- >> dns_update_results.txt
    echo " Last run: `date`" >> dns_update_results.txt
chmod +x ~/dns_update_script.sh
The script downloads the web pages to the text file (the first wget creates the text file, the second wget appends to the text file) and then I also append the current date and time to the text file.
Setup a cron job to run the script at the start of every hour:
crontab -e
    0 * * * * ~/dns_update_script.sh
Using Virtual Hosts to Serve Multiple Domains
A single computer can serve multiple domains. Apache supports this and calls it a "Virtual Host." You can repeat the following steps for as many domains as needed:
sudo nano /etc/apache2/sites-available/yourdomain.conf
    <VirtualHost *:80>
        ServerName www.yourdomain.com
        ServerAlias yourdomain.com *.yourdomain.com
        DocumentRoot /var/www/yourdomain
    </VirtualHost>

sudo mkdir /var/www/yourdomain
sudo chown -R yourusername /var/www/yourdomain
sudo chgrp -R yourusername /var/www/yourdomain
ln -s /var/www/yourdomain ~/yourdomain

sudo a2ensite yourdomain
sudo service apache2 reload
Using Swish-SFTP to Copy Files to the Pi
After installing Swish-SFTP, there will be a "Swish" device listed in File Explorer > This PC. Double-click it, then choose "Add SFTP Connection" near the top of the window. After making a connection you can drag-and-drop files between Windows and the Pi.
That's it. You now have a web server that requires less than 5 watts of power to run, and occupies hardly any space in your home.
YouTube Video
I also made a YouTube video showing the process. In the video I did not cover Virtual Hosts.