Cap'n Crunch RC Car Body
October 18, 2009
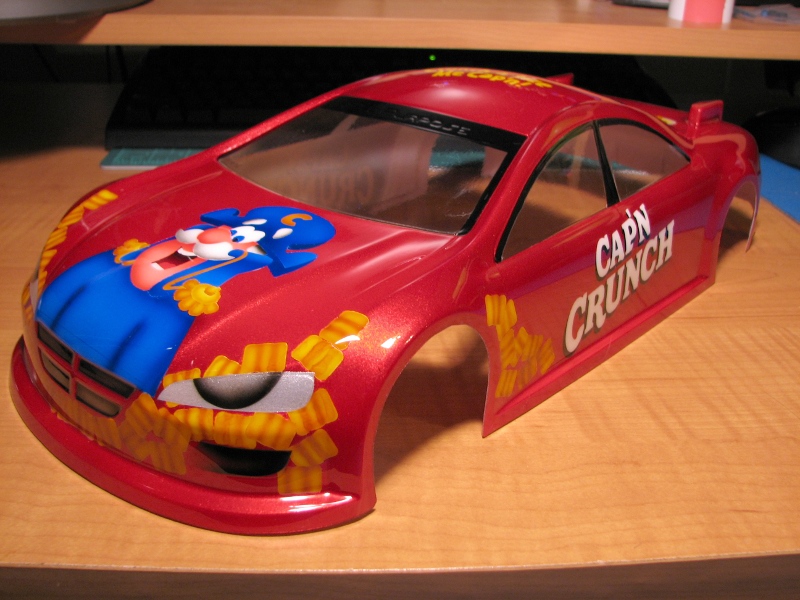
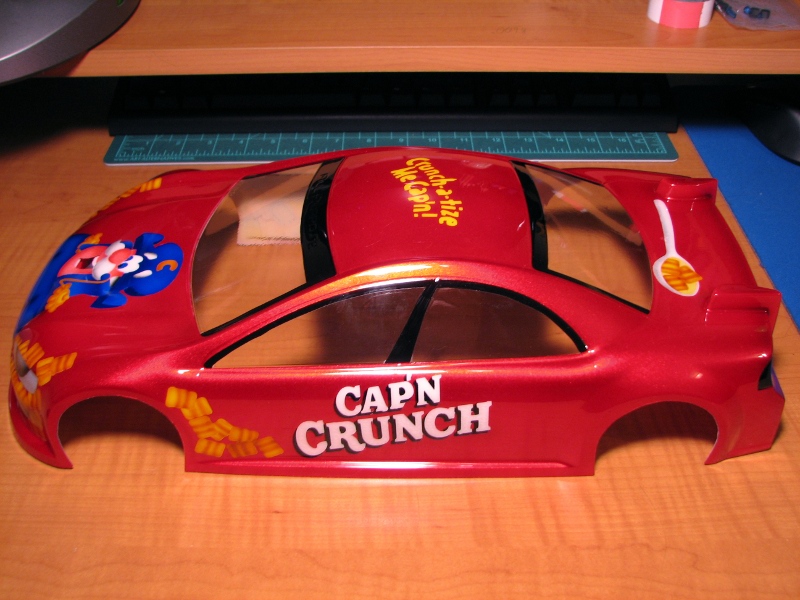
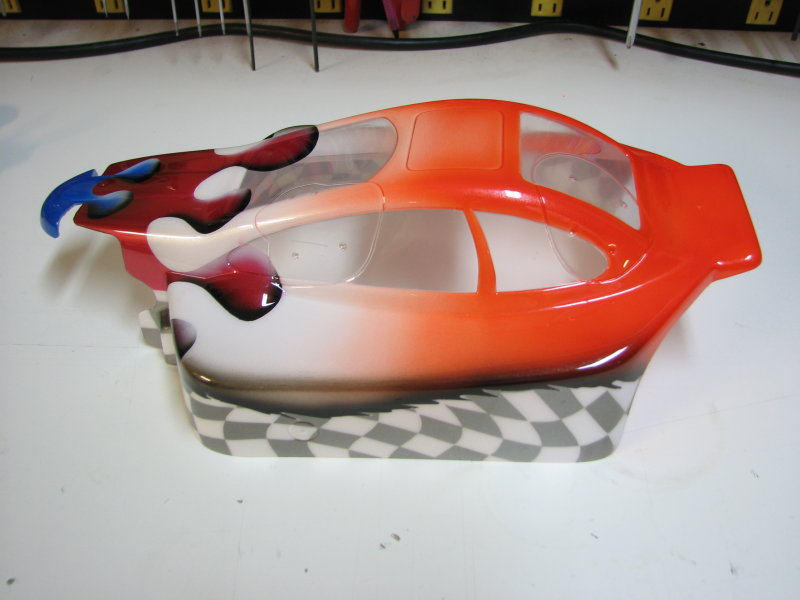
This 1/10th scale touring car body was fun to paint and turned out great. Afters a few hours of vector tracing, cutting some vinyl masks and doing a test panel, here's the end result:
This 1/10th scale touring car body was fun to paint and turned out great. Afters a few hours of vector tracing, cutting some vinyl masks and doing a test panel, here's the end result:
I finally got around to building the CEN CT4R touring car kit that I was given. Looking through my collection of unpainted bodies I found a 200mm TC body to paint but for the life of me I could not think of a fun theme. The following day at work I went on break and decided to raid the vending machine... guess what caught my eye?
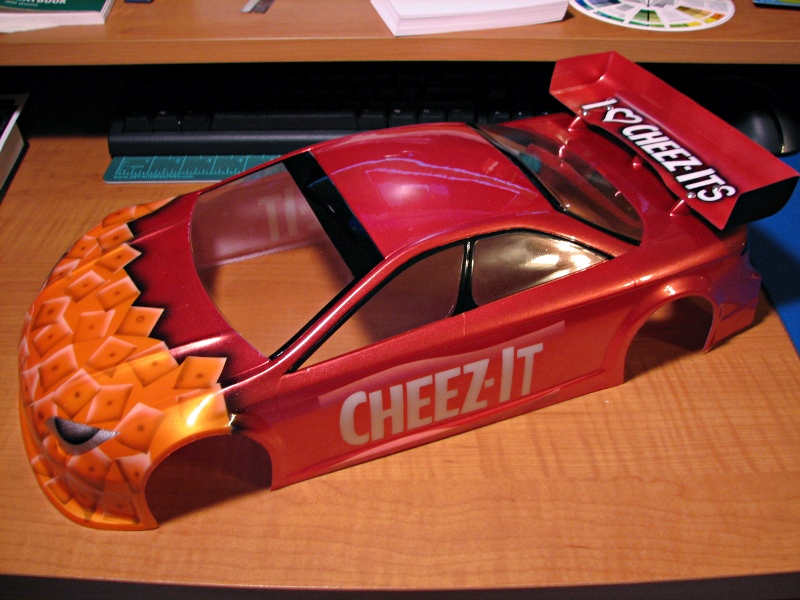
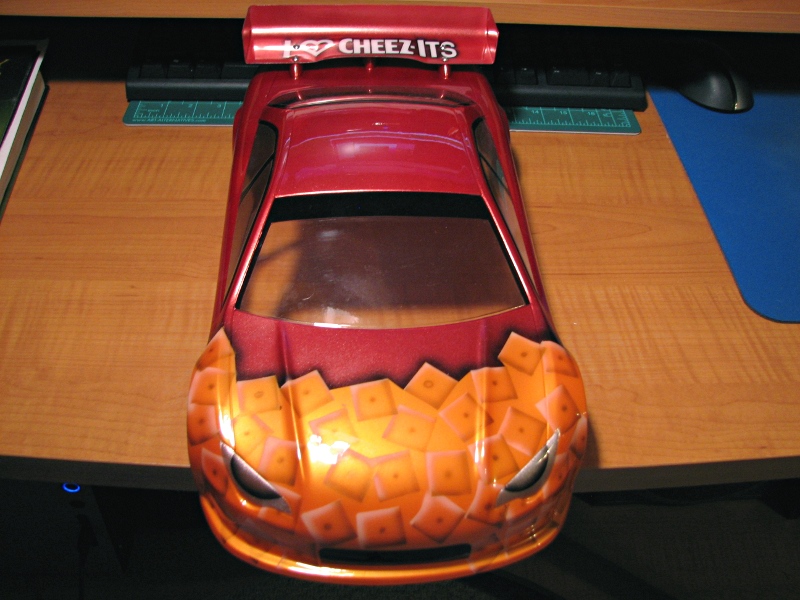
Looks kind of of soupy, I should have painted more Cheez-Its. I guess that's what I get for not painting a test panel.
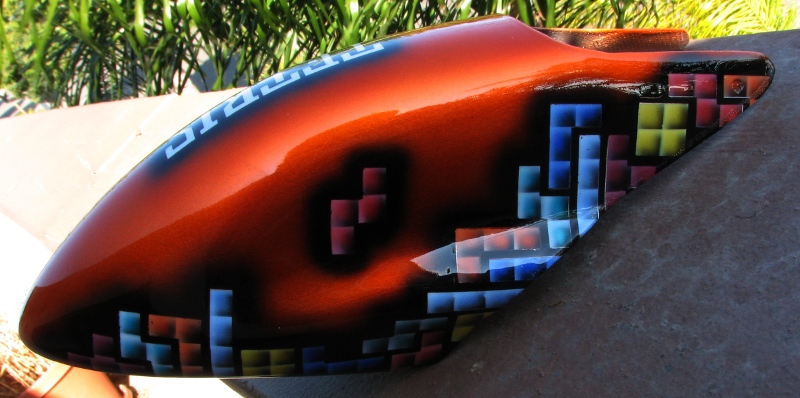
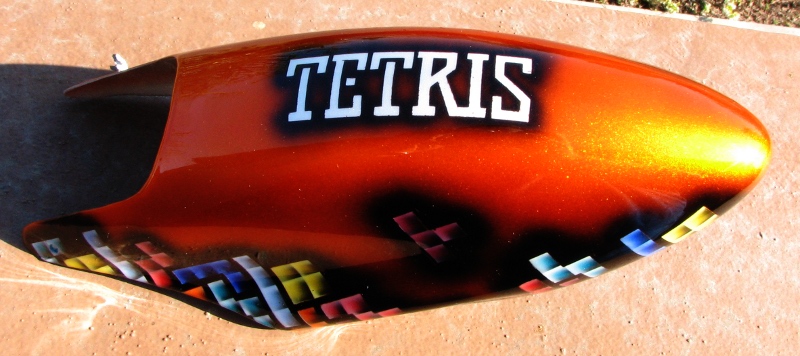
I finished three canopies recently. This Tetris canopy turned out much better than I anticipated. Silver base, candy colors, black and white for tints/shades. Made extensive use of my vinyl cutter, total time including a test panel was around 6 - 7 hours. It was worth it.
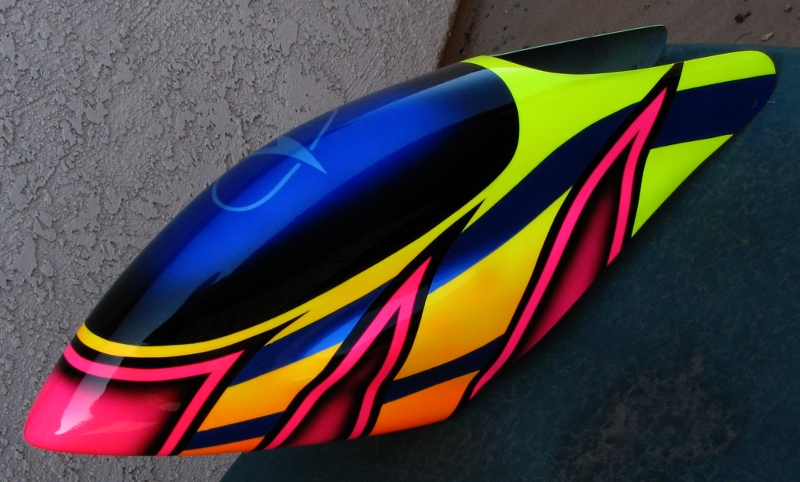
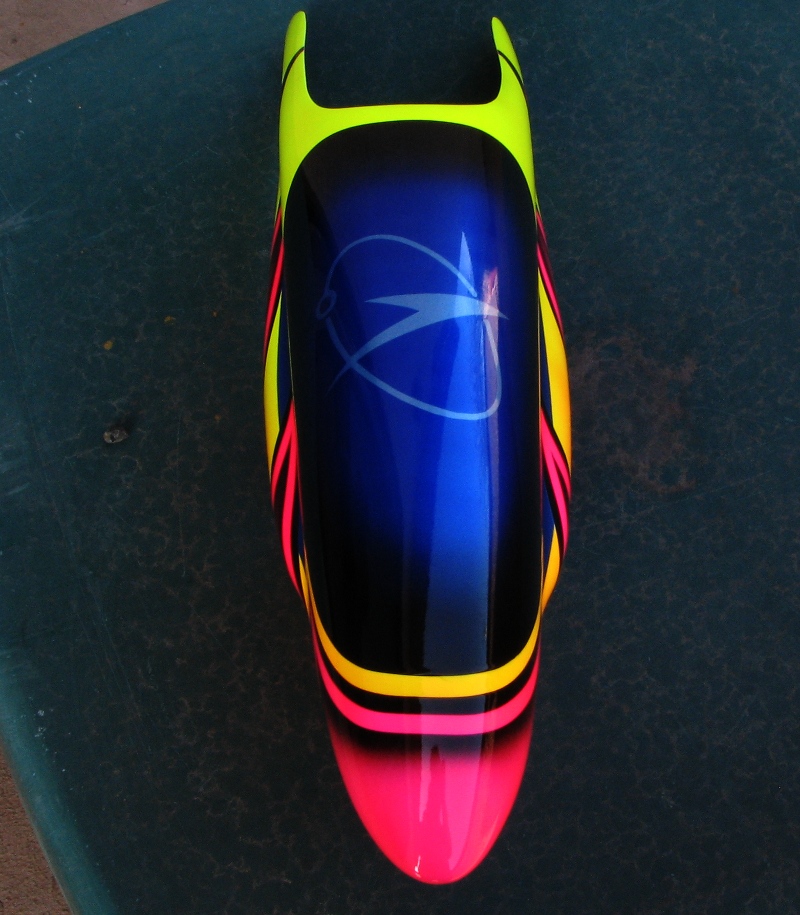
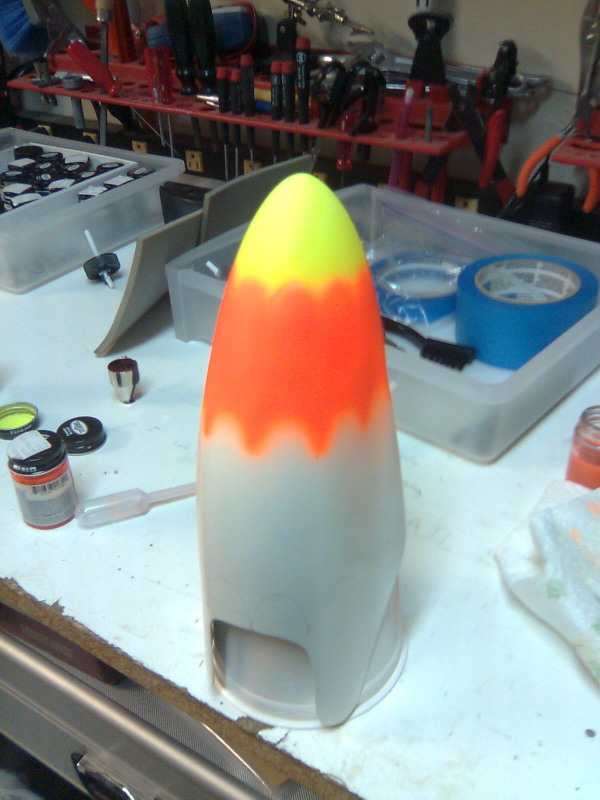
For my Raptor 50 I needed a high-visibility canopy. Yellows and pinks really pop out. I airbrushed a similar design on a smaller canopy a year ago for my T-Rex 450. I added some blue stripes and an Airtronics logo. It's hard to loose orientation now:
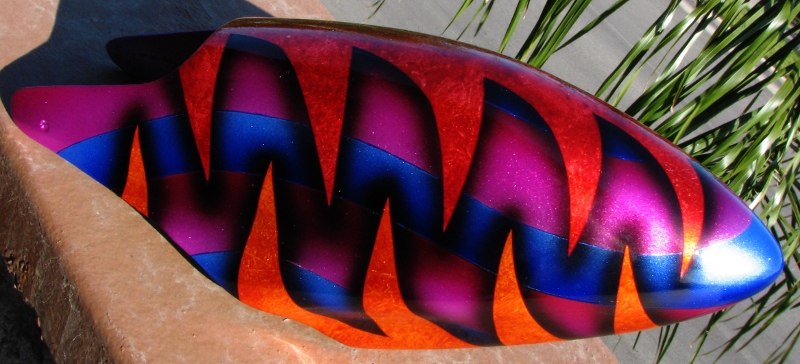
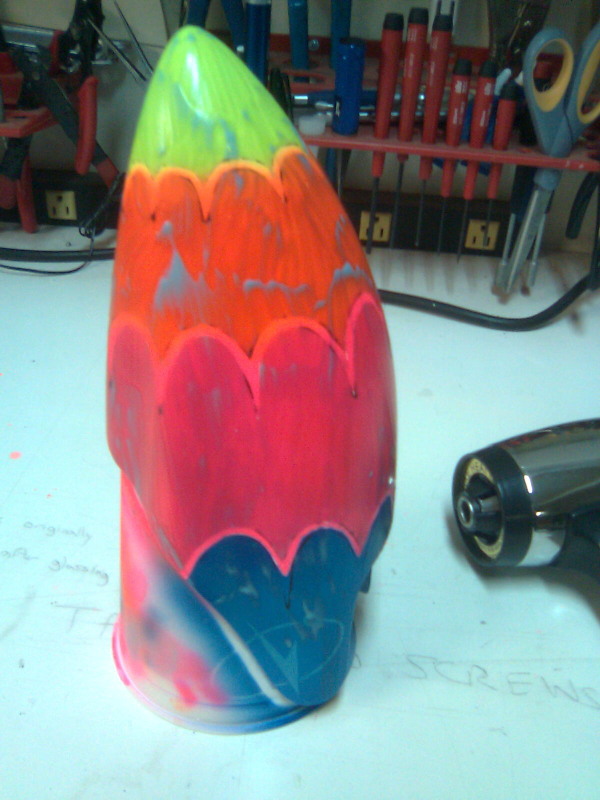
The colors on this last canopy are all candies on top of a silver base. The red and orange were marbleized, this was my first attempt at doing that. I like how it turned out. While not obvious in the photo, the marbleized candy red looks like blood spatter / pooling on concrete!
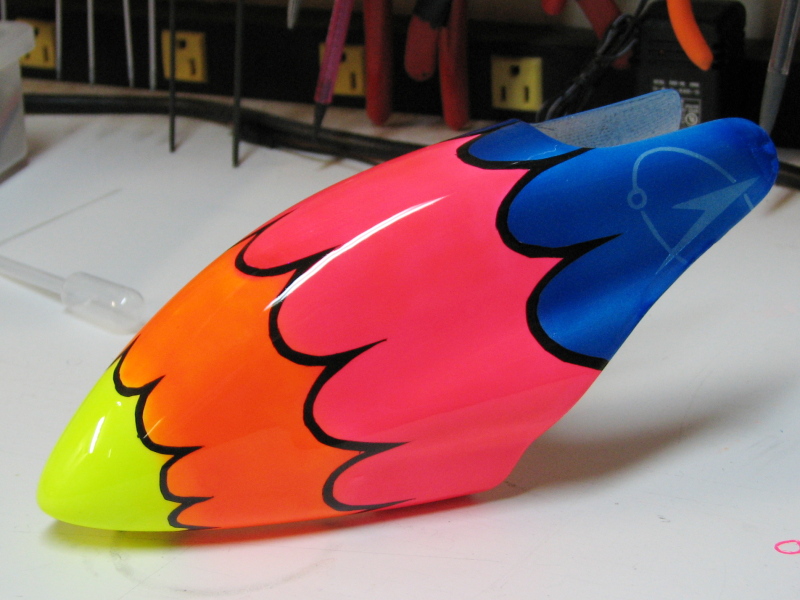
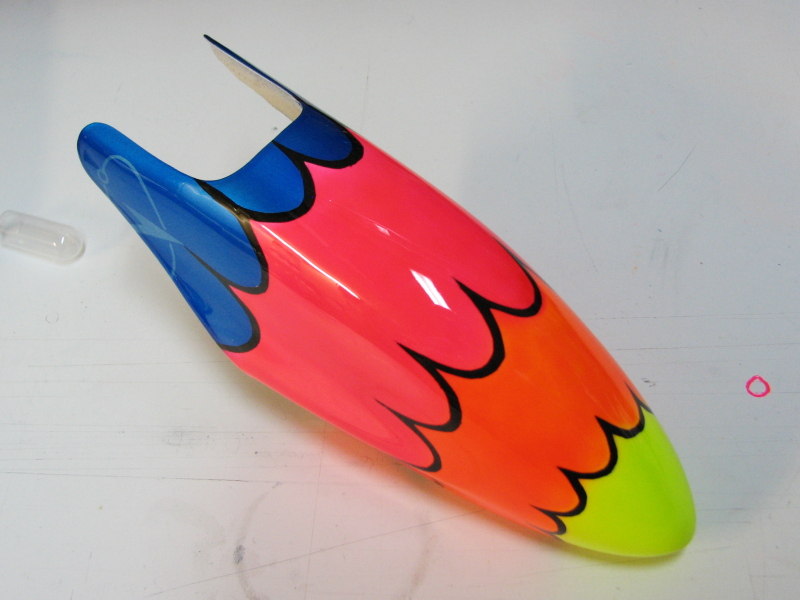
On a never-ending quest for high-visibility canopy designs, I came up with this bad boy. Unfortunately I over sanded the first coat of clear and broke through to the candy blue in a few spots :( You will have to excuse the poor cover ups. Luckily they aren't noticeable when in flight.
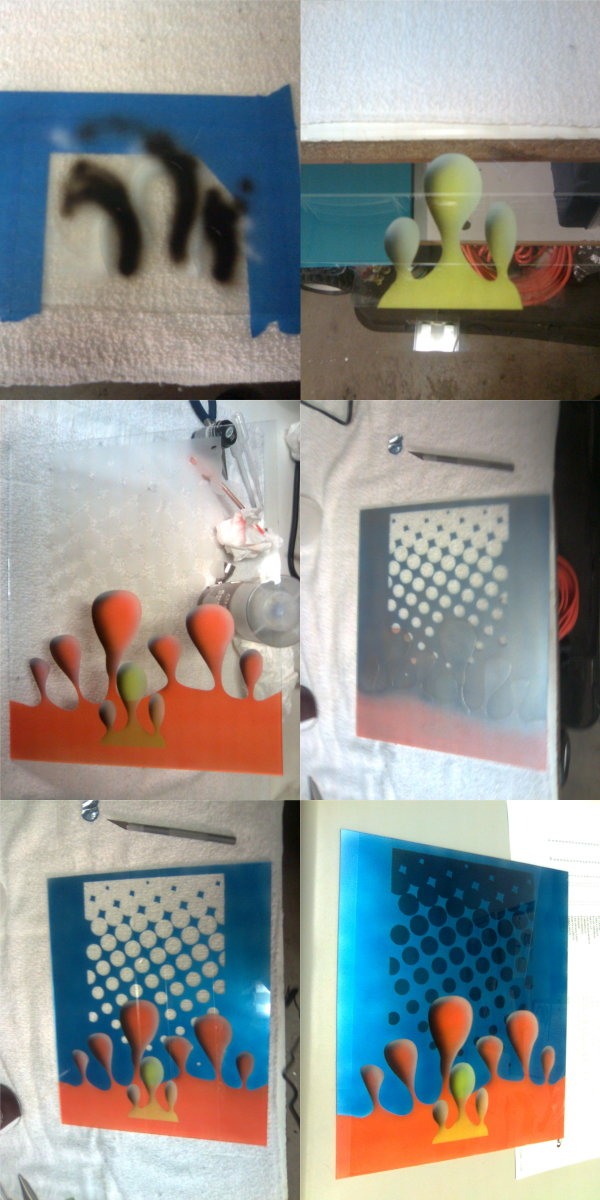
Step-by-step:
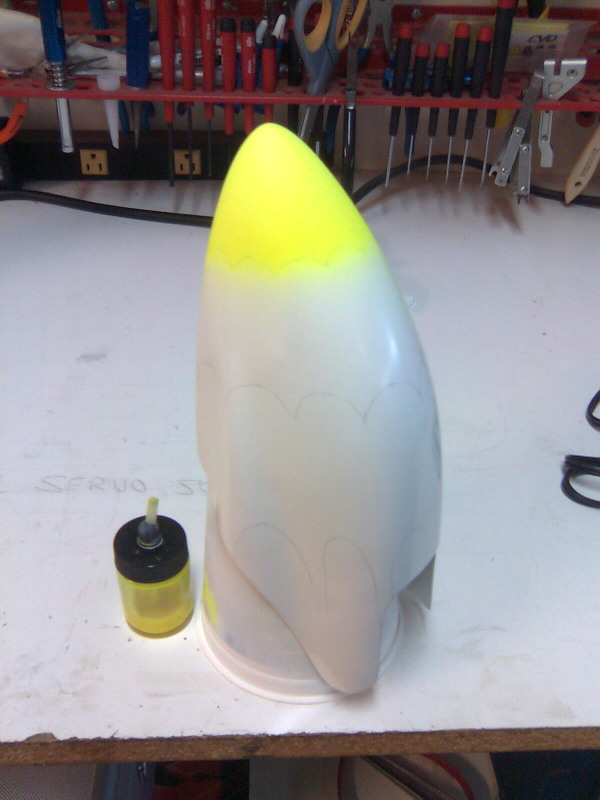

When removing the liquid mask there will be a blue tint left behind. Its goes away after a few hours. You don't have to wait for it, it will still disappear if you paint or clear over it.
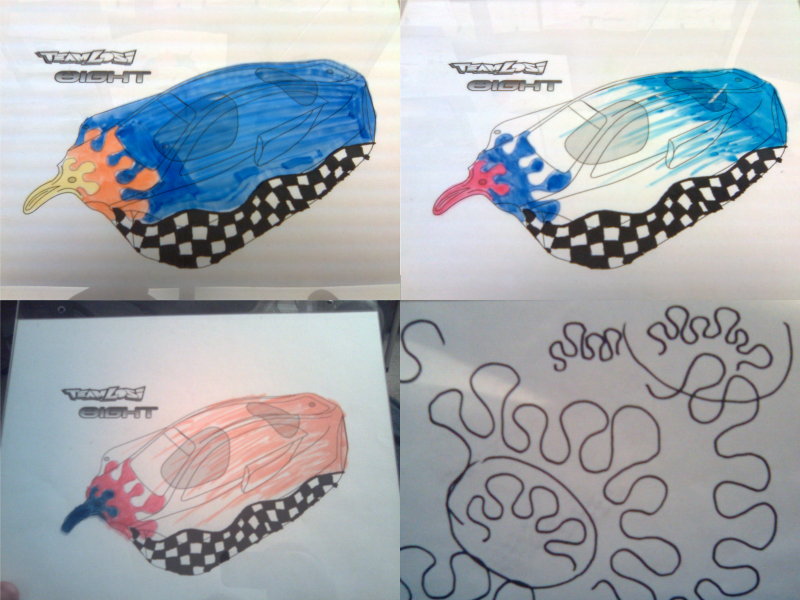
After more than a month of indecision, I finally settled on a theme for my first attempt at an airbrushed r/c car body. It turned out very well for a first try however I took some time to practice before hand which rewarded me well. Here is the end result:
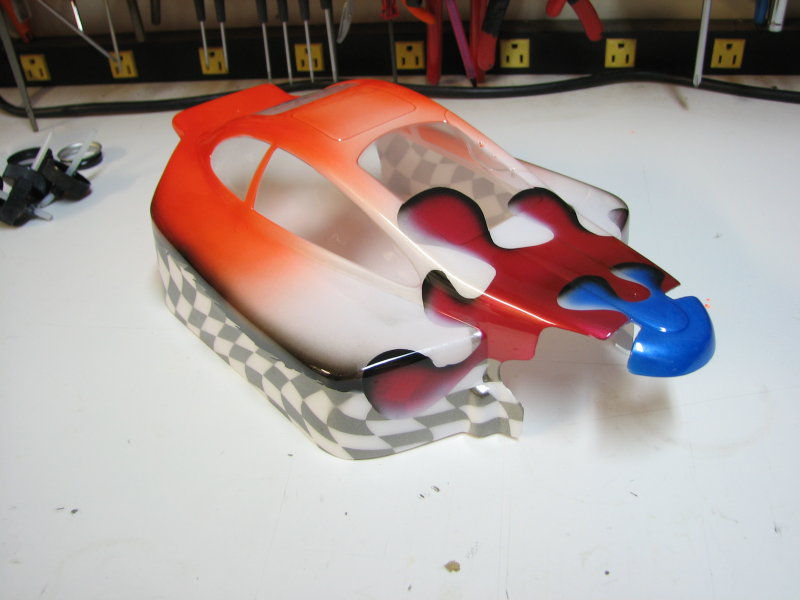
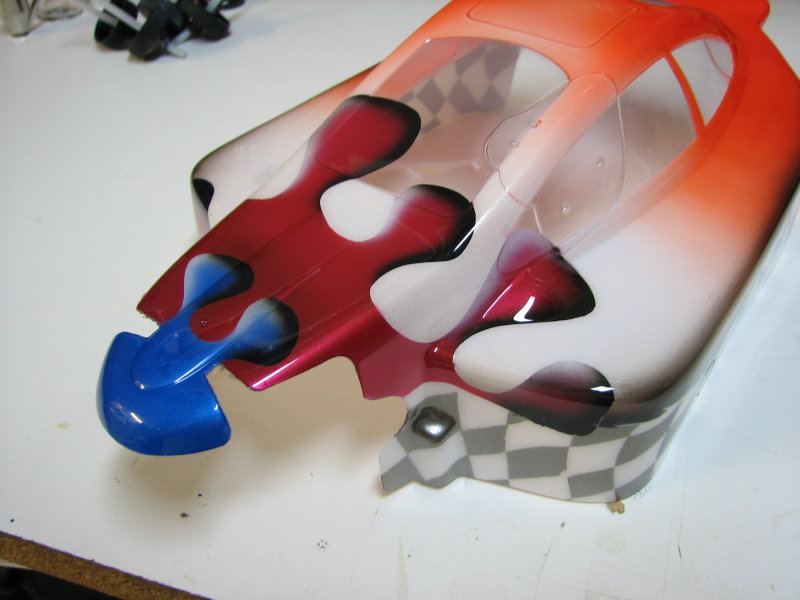
The checkers are actually a nice deep and shiny color, but my workbench's white surface is being reflected making it look lighter than it is. The colors used were: metallic blue, metallic red, white, black, silver, fluorescent yellow and red. The orange is a mix of the fluorescent yellow and red, while the dark silver in the checkers is a mix of silver and black.
Midway through the job:
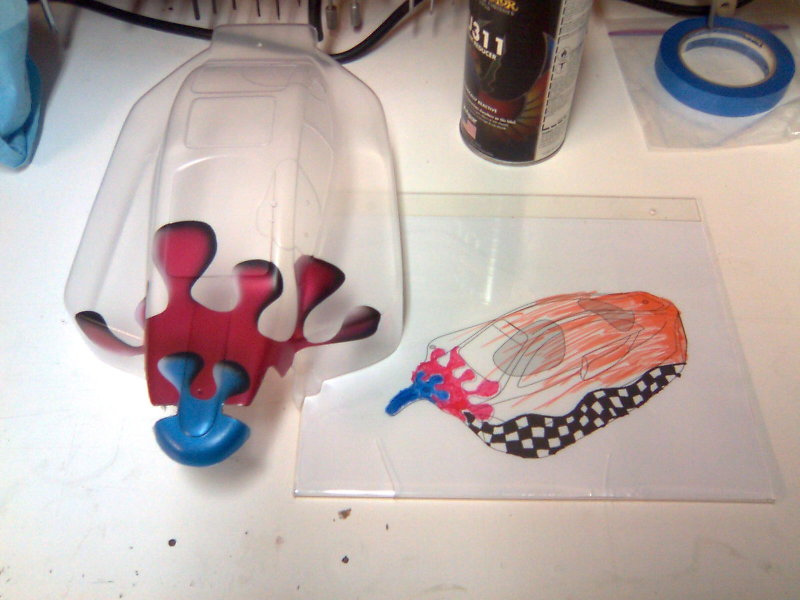
Below is my very first practice piece. It was a sheet of glass I had laying around. I wanted to see if I could shade my paint drips decently and get a feel for painting from the "inside." I learned about the importance of not laying on too wet of a backing color or it will bleed through. Dark colors also need to be done first or they will show through the lighter colors.
Lastly here are some of my doodles that helped me select a theme to try...