Balancing Robot
May 18, 2014
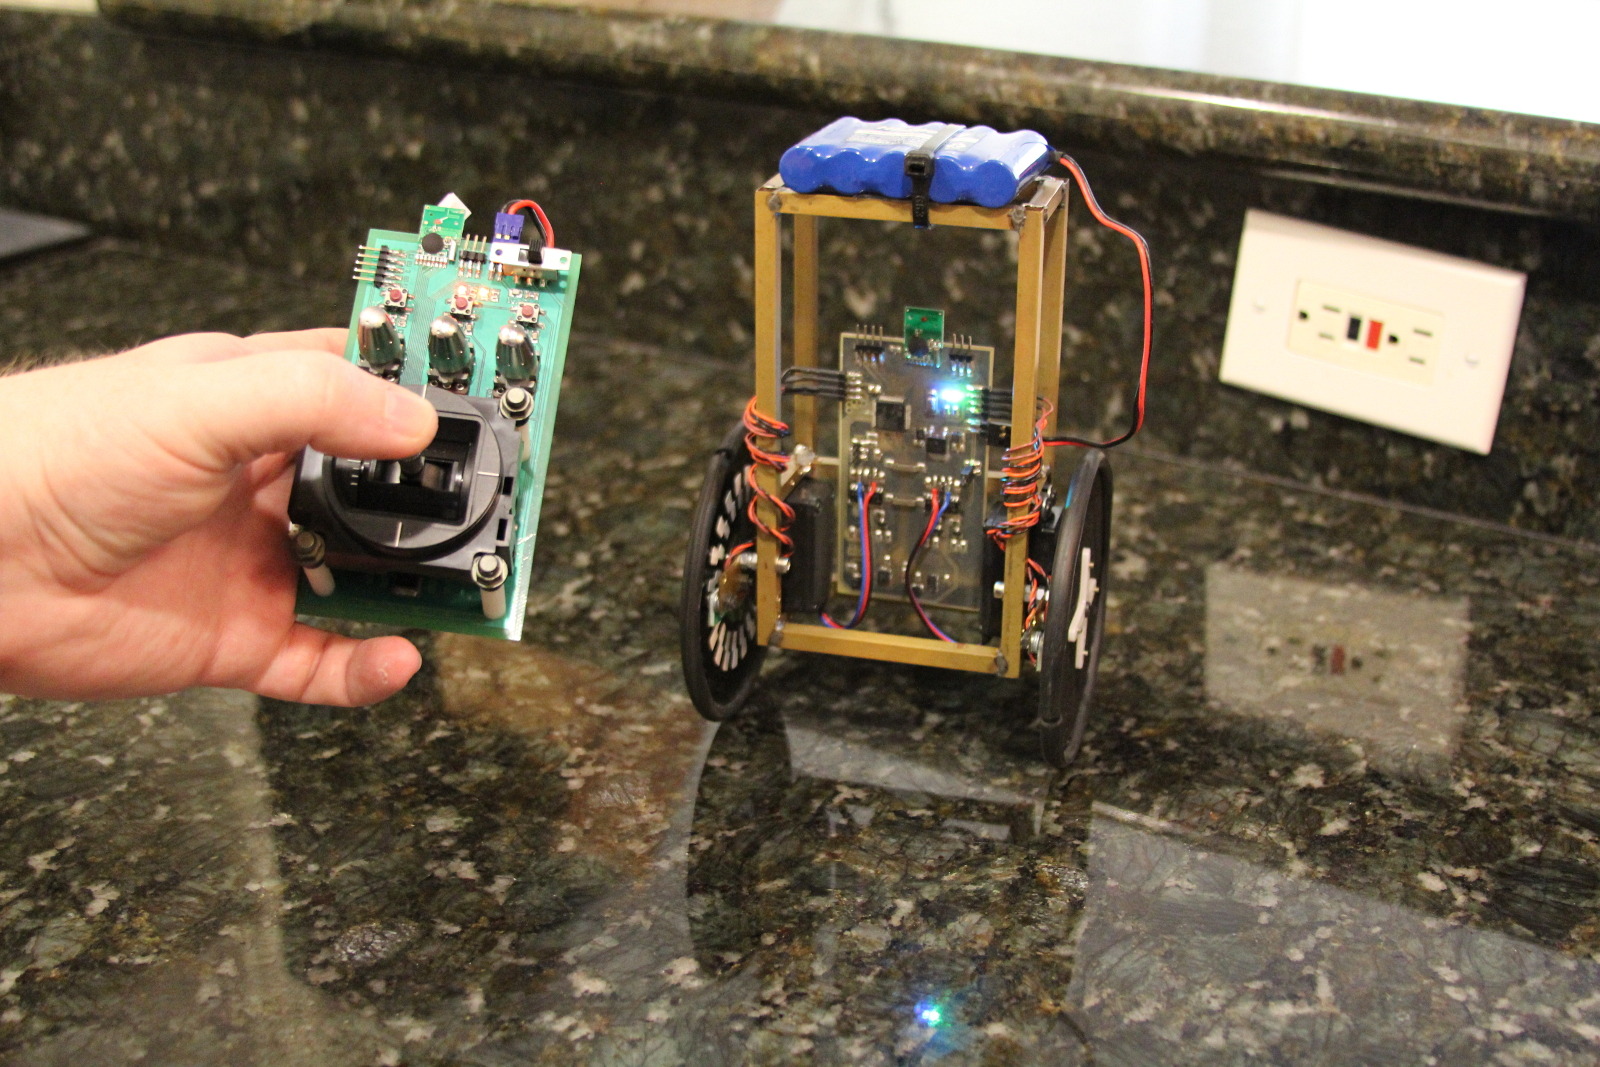
Over a year ago I started to work on a small balancing robot. Between learning more about communication protocols and feedback loops I also had periods of schoolwork that kept me from this hobby. In the end my little robot was balancing on his own and I could send steering and throttle commands wirelessly.

This project marked many firsts for me. It was the first time I made use of my microcontroller's I2C, UART and ADC peripherals. It was the first time I heard about PID control loops. It was also the first time I used an RF module to communicate wirelessly.
As I progressed I took several photos and video clips when milestones were met.
During the planning stage I selected a 3-axis gyro and a 3-axis accelerometer. I settled on STM's L3GD20 and LSM303DLHC devices. I laid out and etched a breakout board for them, then wrote a little Hello World test to draw bar graphs for the gyro readouts.
I decided to use a pair of RC hobby servos to power the robot. I removed the feedback potentiometers and modified the output gears to allow for continuous rotation. Some steering wheels from RC hobby transmitters were initially used as the wheels. The robot frame was constructed with some brass square tubing cut to length and soldered together. A gimbal was used for steering and throttle inputs since I didn't want to dive into the 2.4GHz module's lengthy datasheet until the end.
The wheels quickly proved to be a problem. While they had great traction, their diameter was far too small. The robot could easily drift a little too much, and the servos at full power couldn't spin fast enough to overcome the drifting.
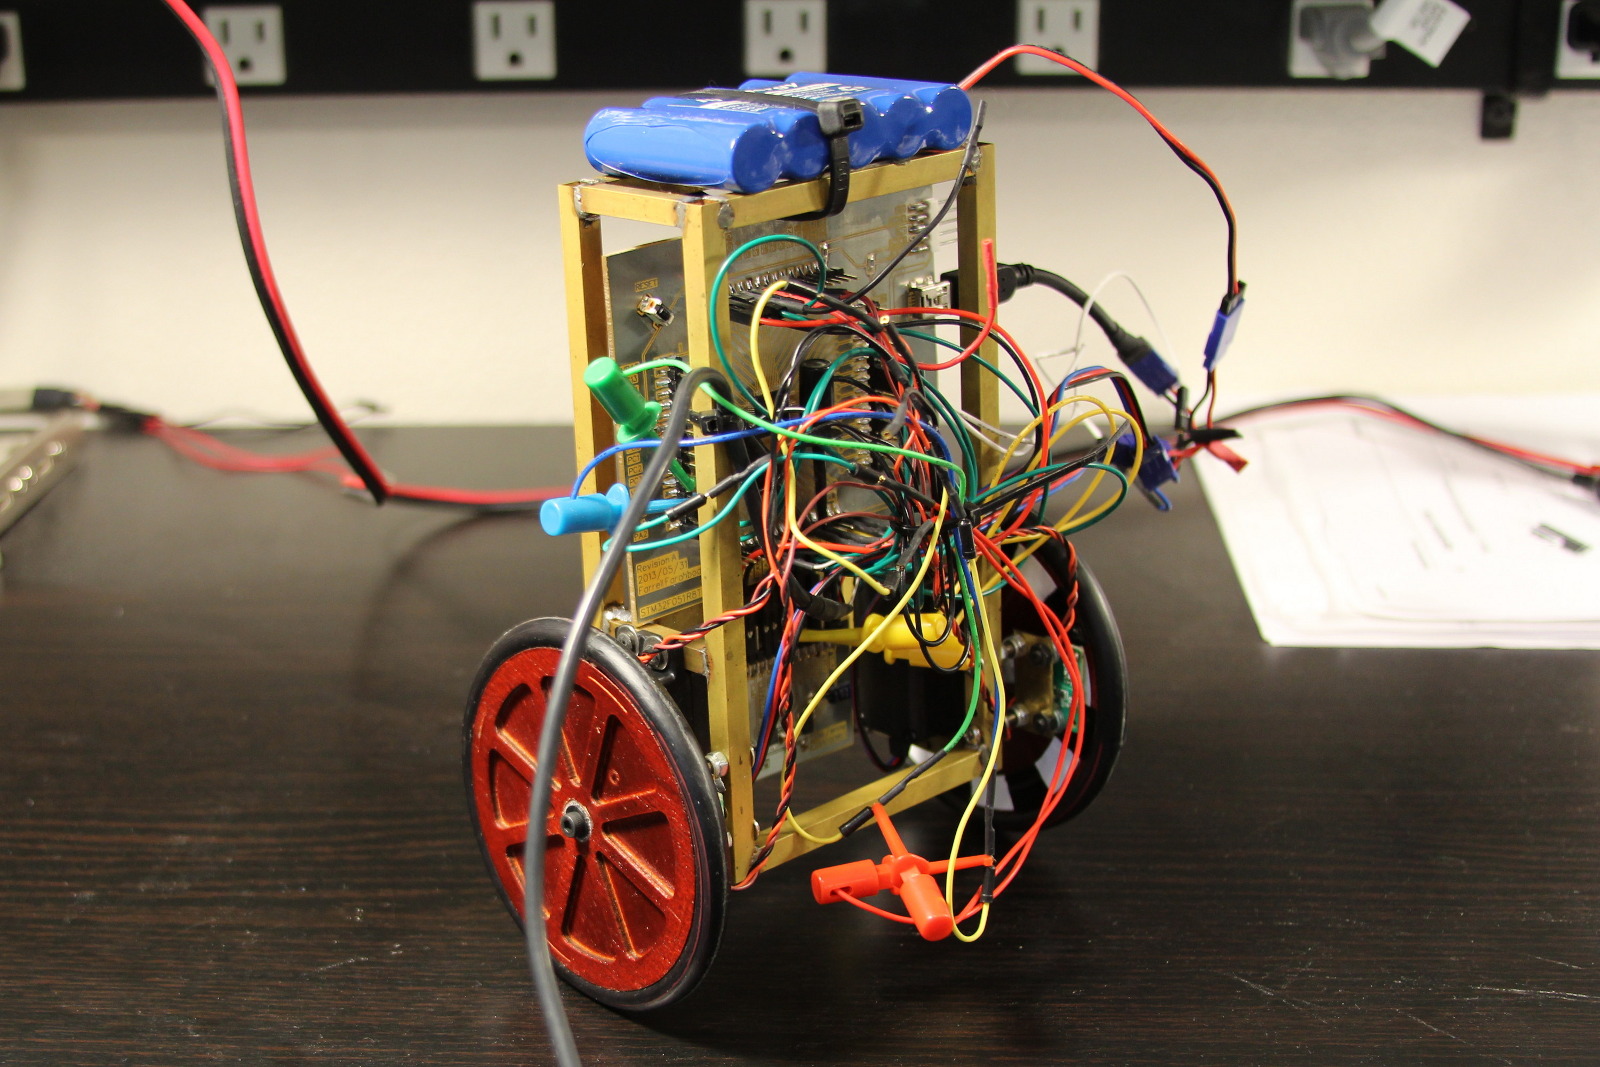
I went with larger diameter wheels, making it much easier for the robot to balance:
The robot was actually drivable at this point. I added optical wheel encoders to make it easier to sense when the robot started to drift off course. Without the encoders the robot could drift if the driving surface wasn't perfectly level. By now the little guy was a mess of breakout boards, flying wires and extensions.

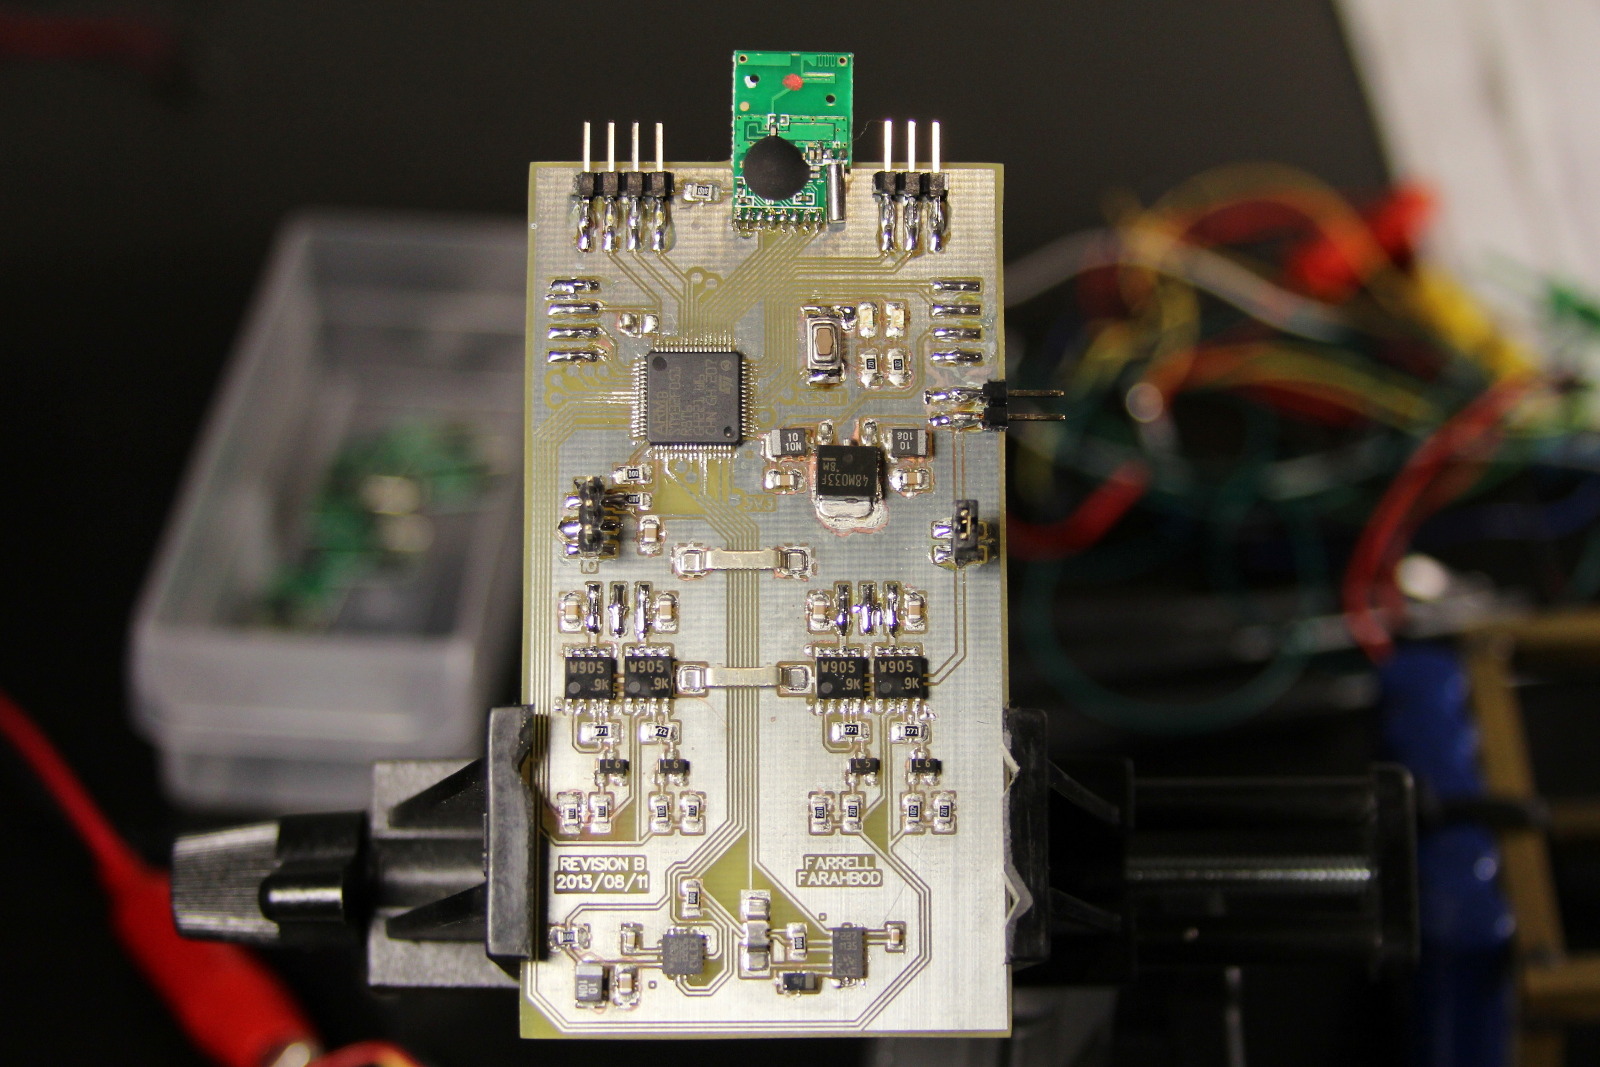
To clean up the mess I designed and etched a PCB specifically for this robot. I incorporated dual H-Bridges on the PCB to give better control over the motors. Previously I had just generated servo signals and let the servos' PCBs control the motors. This mostly worked, but as the servo PCBs came up to temperature the signal center point would drift slightly. This meant that after about a minute of use the robot would effectively have a bit of steering and throttle applied.

I finished by designing and etching a PCB for the transmitter. That was shown in my earlier post about solder masks. A little tuning of the PID control loop brought everything together and I was done. I'll post the firmware in a few days after doing the last bits of clean up and documentation.